Deploy Custom Objects Metadata
After making any of the following types of changes to a Custom Object, you must deploy metadata for the changes to take effect. This process pushes the changes to the Loyalty server, in order to make them available for use within the platform.
-
Publishing a new Custom Object.
-
Editing any aspect of a Published Custom Object.
-
Deleting a Published Custom Object.
-
Archiving a Published Custom Object.
Note: The steps below describe how to deploy metadata directly from the Custom Objects screen; you can also deploy metadata from the Deployments screen. See Deploy Program Metadata for more information.
View Deployed Metadata
To view the currently deployed Custom Objects metadata:
-
Select Program from the top navigation bar, then select Custom Objects from the side navigation menu. The Custom Objects screen is displayed.
-
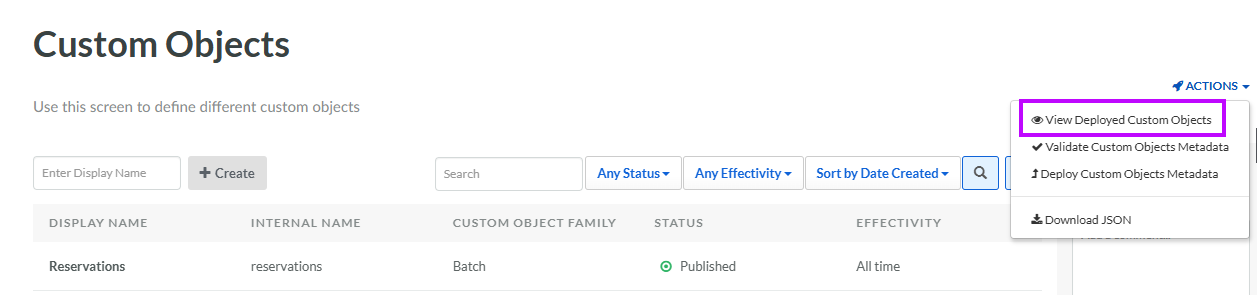
From the Actions menu in the top-right corner of the Custom Objects screen, select View Deployed Custom Objects. The View Snapshot pop-up window is displayed.
-
Expand the message to as desired to view additional details, such as the total number of deployed Custom Objects. You can also drill in deeper, to see details of each deployed Custom Object (name, description, Attributes, etc.).
Validate Custom Objects Logic
You can deploy metadata immediately, but the best practice is to validate the Custom Objects logic before deploying metadata to ensure no incorrect expression code gets deployed to the server that could cause issues.
To validate Custom Objects metadata:
-
Select Program from the top navigation bar, then select Custom Objects from the side navigation menu. The Custom Objects screen is displayed.
-
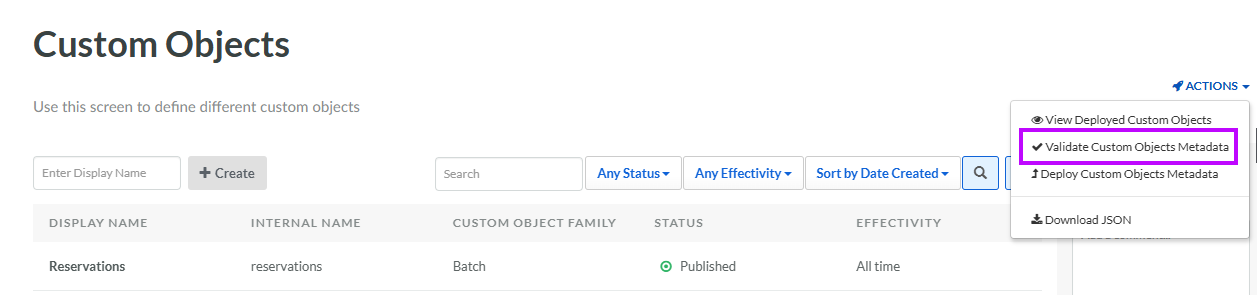
From the Actions menu in the top-right corner of the Custom Objects screen, select Validate Custom Objects Metadata.
-
The Validation Result pop-up window is displayed. If the validation step passes, a message is displayed reading: "Custom Objects Metadata is valid." If the validation step fails, an error message is displayed; review and correct the Custom Object, then retry the validation step.
Deploy Custom Objects Metadata
To deploy Custom Objects metadata:
-
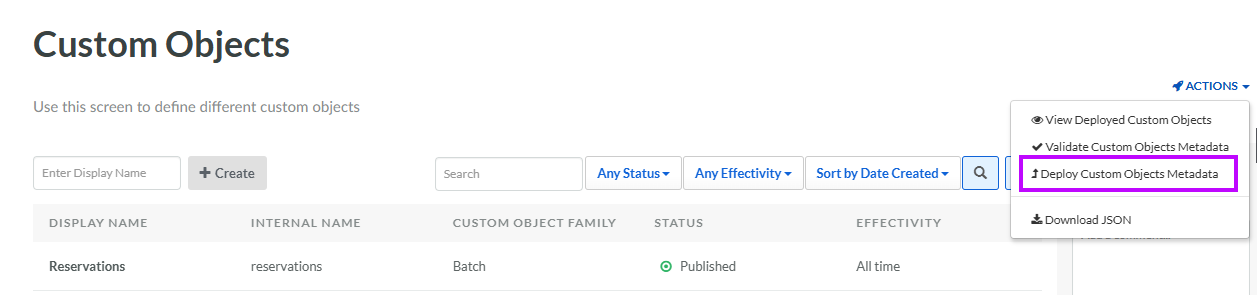
If you validated metadata as described above, within the Validation Result pop-up window, click Deploy Custom Objects Metadata. Otherwise, from the Actions menu in the top-right corner of the Custom Objects screen, select Deploy Custom Objects Metadata. A confirmation dialog box is displayed; click Confirm.
-
If the deployment was successful, a message is displayed reading: "Custom Objects metadata as been deployed."